| Last week we learned how to tear things down, now we’re going to build them back up again. I will be learning two ways of welding over the next few weeks, mig and stick, and I’m starting with mig because I think it will be the easier of the two. Mig welders use a thin metal wire that is fed along with a certain gas through a hose-like line to the welder tip. M.I.G. stands for “Metal Inert Gas”, in reference to the gas that protects the hot weld while it cools to prevent things like a weak bond or small pinholes in the metal. This is a very basic definition, and I’m sure I’m leaving out some important details, but that was the quick explanation that was given to me. | 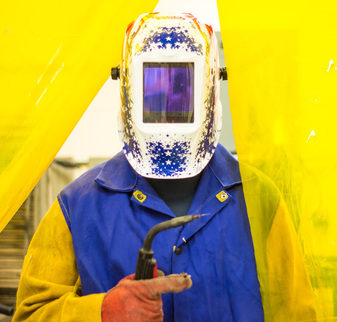 Ready to go. |
 Mig welding | Welding two pieces of metal together isn’t the same as something like gluing two pieces of paper together. It’s not an adhesive that dries and maintains the bond between the two materials. In welding you are actually melting both pieces of metal along the seam to the point where they physically fuse together. A welder will also add a filler material in the form of metal wire or rod that also helps to close the gap. |
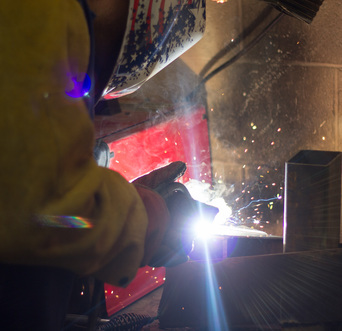
| As far as the process of welding goes, you pull the trigger on the gun, wire comes out and welds the metal together. The idea is simple right? It’s the execution where things get difficult. The gun must be held at a certain angle to and distance from the metal. There is also a proper speed and motion to move the gun in. The speed has a lot of variables, but the motion is usually in a sort of “C” shape. When my dad showed me how to move the gun this way, he kept using the term “wash”, as in “you wash the bead up and down the joint”, which I took as a play on the similarity in the motion to that of wiping something like a window with a rag. I never asked him where the term came from, but after a little searching around on some welding sites, it looks like it’s a common term. |  Note the "C" shape of my first weld. Still needs some practice. |
As my dad walked me through this whole process I realized it was a little different from another learning experience I remember having with him. When I was 15 my dad taught me to drive stick in an old Jeep. I don’t think I had near the same capacity in my working memory back then that I do now. Both of us got so frustrated when he felt like I wasn’t listening to his simple instructions, and I felt like he wasn’t saying any of it in an understandable way. I think what really happened was my working memory was getting overwhelmed with new terms and ideas like pushing on pedal in at one speed while letting off on the other at a different speed. At this point in my life I’m better able to concentrate on multiple instructions at once, so the new learning experience of welding easier and more enjoyable overall.
 RSS Feed
